How to Clean and Protect Suede Shoes: The Complete Guide
Suede shoes like Timberlands and Air Jordans require specialized care due to their delicate nap. Use a soft suede brush, eraser, and protector spray to remove dirt and prevent water damage. Act quickly on stains, keep shoes dry, and brush gently in one direction to restore texture. Proper maintenance extends shoe lifespan significantly.
See everything Jojo Shoes can do for you.
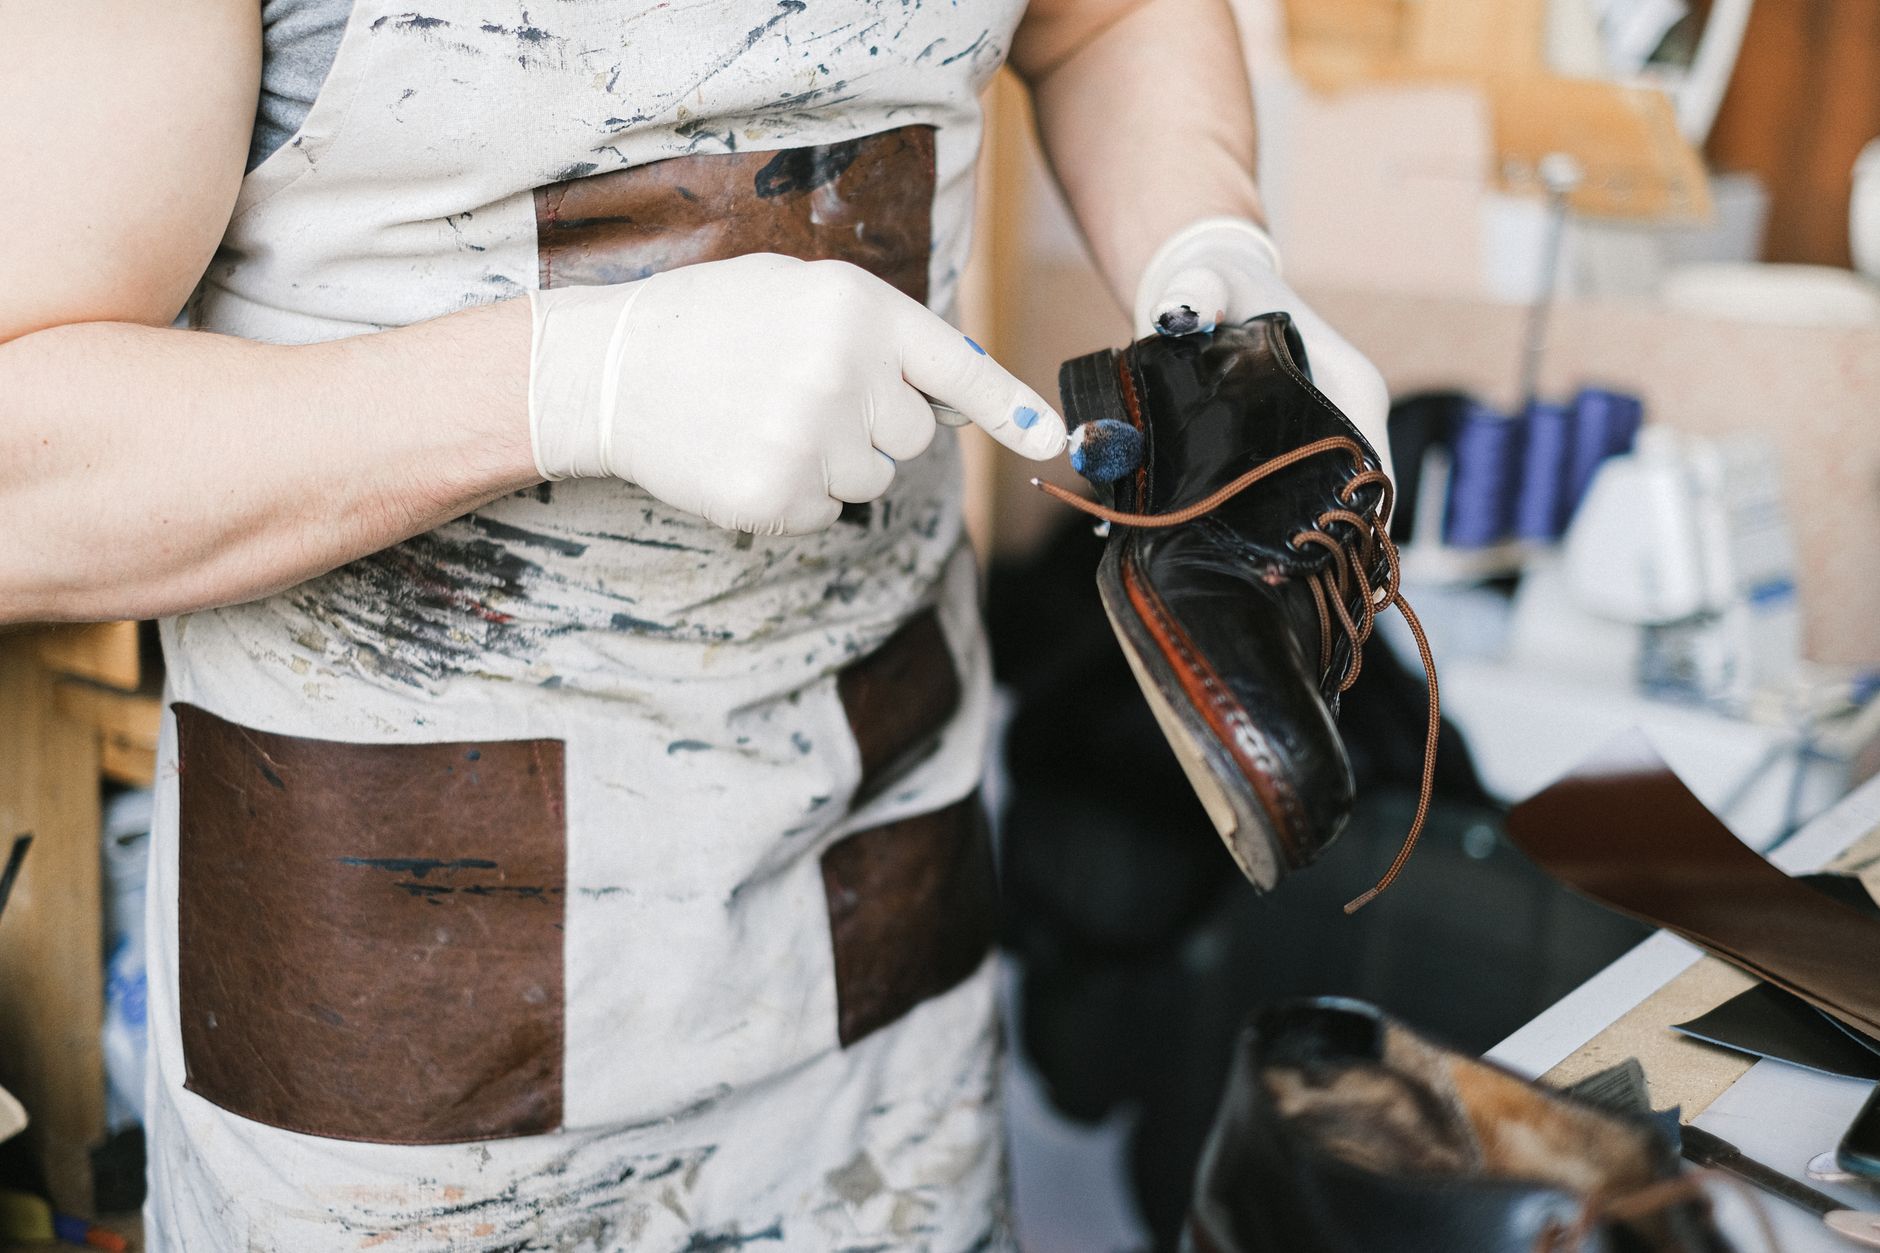
If you own a pair of suede shoes, whether that is a classic pair of Timberlands, some New Balance sneakers with suede overlays, or a fresh set of Air Jordans in a nubuck finish, you already know they look incredible. What you might not know yet is that suede requires a very different kind of attention compared to regular leather or canvas. This guide walks you through everything you need to keep your suede footwear looking sharp for years to come.
Why Suede Needs Special Care
Suede is made from the underside of animal hide, which gives it that soft, velvety texture people love. Unlike full-grain leather, it has no tough outer layer to shield it from the elements. That makes it significantly more vulnerable to scuffs, moisture, and everyday grime. Canvas shoes can take a good scrub, and smooth leather can be wiped clean, but suede plays by completely different rules. Understanding that difference is the first step toward protecting your investment.
Water is one of suede's biggest enemies, and so are the natural oils from your hands and skin. When water soaks into suede, it flattens the tiny fibres that make up the nap, leaving behind tide marks and discolouration that are frustratingly difficult to reverse. Oils cause a similar problem by bonding to those fibres and darkening them in patches. Even a light rain shower can leave visible marks on an untreated pair. This is why you cannot treat suede the same way you would treat any other shoe material.
Small stains have a habit of becoming permanent when suede is involved. A drop of coffee or a smear of mud that sits untreated for a few days can set into the fibres and resist even specialist cleaning products. Acting quickly is always better than hoping the mark will disappear on its own. The good news is that with the right tools and a bit of knowledge, most stains are manageable. The bad news is that waiting too long removes most of your options.
Proper maintenance genuinely extends the lifespan of expensive shoes. A quality pair of Timberland boots or a premium Nike silhouette in suede can cost a significant amount, and neglecting them cuts that lifespan in half. Regular care keeps the nap looking fresh, the colour even, and the structure intact. Think of suede maintenance less as a chore and more as protecting an asset you paid good money for. A well-maintained pair of suede shoes can outlast a poorly kept pair by several years.
Essential Tools for Suede Shoe Care
Before you start cleaning anything, you need the right tools on hand. Trying to clean suede with whatever is nearby, like a damp kitchen cloth or a hard-bristled brush, often causes more damage than the original dirt did. Investing in a small suede care kit is worth every shilling. Most of the items listed below are affordable and widely available in Nairobi or online. Getting them before you need them urgently is the smart approach.
A suede brush is the single most important tool you can own for this kind of shoe care. It has soft, brass or nylon bristles designed specifically to lift surface dirt without tearing the delicate fibres of the nap. You use it in gentle, circular motions to loosen grime and then in one direction to restore the texture. A good suede brush also helps revive shoes that have gone flat and lost their soft appearance. If you cannot find a dedicated suede brush locally, a soft-bristled toothbrush used very gently can serve as a temporary alternative.
A suede eraser looks similar to a regular pencil eraser and works in a surprisingly effective way on scuffs and small marks. You rub it lightly over the affected area and it lifts the surface-level dirt without needing any liquid. It is particularly useful for the kind of minor marks that appear from everyday contact with surfaces. Suede erasers are inexpensive and small enough to toss in a bag for on-the-go touch-ups. Pair it with your suede brush and you have covered most common cleaning situations.
A suede protector spray rounds out the essential kit by acting as a preventative barrier. It creates a thin, invisible layer over the shoe that repels water and resists oil-based stains before they can penetrate. A clean, dry cloth is also worth keeping nearby for gentle blotting and wiping during the cleaning process. You do not need a lot of products to care for suede properly. A brush, an eraser, a protector spray, and a cloth cover the vast majority of situations you will encounter.
Step-by-Step Cleaning for Everyday Dirt
Routine cleaning keeps small amounts of dirt from building up into a bigger problem over time. The most important rule before you start is to make sure the shoes are completely dry. If you wore them in the rain or through wet grass, let them air dry at room temperature for several hours before touching them with any tool. Trying to clean wet suede causes the dirt to spread further into the fibres rather than being lifted away. Patience at this stage saves a lot of frustration later.
Once the shoes are fully dry, pick up your suede brush and work over the entire surface using gentle, circular motions. This loosens the embedded dirt and lifts it away from the fibres without pressing it deeper in. After the loosening pass, switch to brushing in a single direction along the natural grain of the suede. This step is what restores the even, velvety appearance of the nap. It takes only a few minutes and makes a noticeable difference to how the shoes look.
For dirt that does not come away with brushing alone, the suede eraser is your next move. Press it lightly against the stubborn spot and rub with gentle, back and forth strokes. Avoid pressing hard because excessive pressure can flatten the nap and create a shiny patch. After using the eraser, follow up with the brush in one direction to lift the fibres back into place. One critical rule to remember throughout this entire process is to avoid reaching for water as your first response to any dirt on suede.
Treating Fresh Stains and Marks
Speed matters enormously when a stain lands on suede. The moment a wet stain appears, blot the area immediately with a clean, dry cloth, pressing gently to absorb as much liquid as possible. Do not rub the stain because rubbing pushes the liquid deeper into the fibres and spreads it over a wider area. Blotting lifts it out rather than grinding it in. After blotting, step away from the shoes and let the area dry completely before doing anything else.
Once the stain has dried, you are in a much better position to treat it effectively. Use your suede eraser on the dried mark with light, consistent pressure and short strokes. Many stains, including light food marks and scuffs from surfaces, respond well to this method once the moisture is fully gone. After erasing, use the suede brush to restore the texture of the nap. For tougher marks that still remain, a specialist suede cleaning solution applied sparingly with a cloth can help.
Salt stains from rain or road water are a specific problem that many people in Nairobi encounter during heavy downpours. These stains appear as white, chalky outlines and can look alarming on a dark pair of shoes. To treat them, dampen a clean cloth very slightly with plain water, dab gently at the stain, and then allow the shoe to air dry fully away from heat. The damp cloth dilutes the salt concentration and helps it lift out as the shoe dries. Whatever you do, keep the shoes away from direct heat sources like radiators or sunlight during drying because heat sets stains permanently into suede.
Protecting Suede Before Wear
The best time to apply suede protector spray is before the shoes have ever touched the ground. Brand new shoes from our store deserve that layer of protection before their first outing. Spray an even coat over the entire surface of the shoe at a distance of about 20 to 30 centimetres and allow it to settle into the fibres. One important step before coating an entire shoe is to test the spray on a small, hidden area first, such as the inside of the heel. Some protector sprays can slightly darken certain colours of suede, and testing first means you will not be surprised.
After applying the protector spray, give the shoes a full 24 hours to dry before wearing them. Rushing this step by putting the shoes on too soon means the protective layer has not fully bonded with the fibres and will not perform as intended. Most people apply the spray the night before they plan to wear new shoes, which gives the product enough time to cure properly. The resulting barrier is invisible but genuinely effective at repelling water and resisting oil-based staining. It will not make suede completely waterproof, but it gives you a meaningful window to deal with wet conditions before damage sets in.
Reapplying the protector regularly is just as important as the first application. As a general rule, reapply every three to six months during normal use, and always reapply after the shoes have been caught in heavy rain. Over time and with wear, the protective layer thins out and needs topping up to stay effective. Treating protector spray as a one-time step rather than an ongoing routine is one of the most common mistakes suede shoe owners make. Keeping a can at home and setting a reminder on your phone is a simple way to stay on top of it.
Storage and Long-Term Maintenance
How you store suede shoes when you are not wearing them has a direct effect on how long they last. The ideal storage option is a breathable dust bag, which many premium shoes come with when purchased. Breathable fabric allows air to circulate around the shoe, preventing the moisture buildup that leads to mold and unpleasant odours. Plastic bags and airtight containers are a poor choice for suede because they trap humidity around the shoe. If you have misplaced the original dust bag, a clean pillowcase works as a reasonable substitute.
The storage location matters just as much as the container. A cool, dry spot away from direct sunlight is ideal because UV rays cause suede to fade and lose its colour over time. Avoid storing shoes near windows, in hot cars, or in areas that experience extreme temperature changes. A wardrobe shelf or a shoe rack inside the home works well for most situations. Consistency in storage conditions keeps the material stable and the colour even.
Shoe trees are a worthwhile addition to your storage routine, particularly for boots and structured shoes. They maintain the shape of the shoe as it rests, preventing creasing and collapsing of the upper. Cedar shoe trees also absorb moisture from inside the shoe, which is a small but meaningful benefit for suede. Before placing any suede shoe in storage, always make sure it is completely dry. A shoe that goes into storage even slightly damp is at high risk of developing mold patches, which are very difficult to remove from suede without professional help. A quick monthly check of your stored shoes lets you catch any early signs of mold or damage before they become serious problems.
Taking care of suede shoes is genuinely straightforward once you have the right habits and tools in place. A suede brush, an eraser, a protector spray, and smart storage habits are all it takes to keep your favourite pairs looking great season after season. Whether you picked up your shoes from our online store or received them as a gift, these steps will help you get the most out of every pair. A little consistent attention goes a long way with suede, and your shoes will thank you for it.
See everything Jojo Shoes can do for you.
Visit Jojo Shoes →